Step 4: Create your first share
In this step, you'll create a public share that exposes a local HTTP service to the internet. You'll see exactly how the share works and what its limitations are before you move on to the agent.
-
In one terminal, start zrok's built-in test endpoint:
zrok2 test endpointThis starts a simple HTTP listener on port 9090—just a throwaway server to give zrok something to share.
-
In another terminal, run:
zrok2 share public 9090zrok assigns a public URL and displays it along with the share type and a live feed of incoming requests:

-
Open that URL in a browser, or pass it to someone else—anyone with the link can reach your local service.
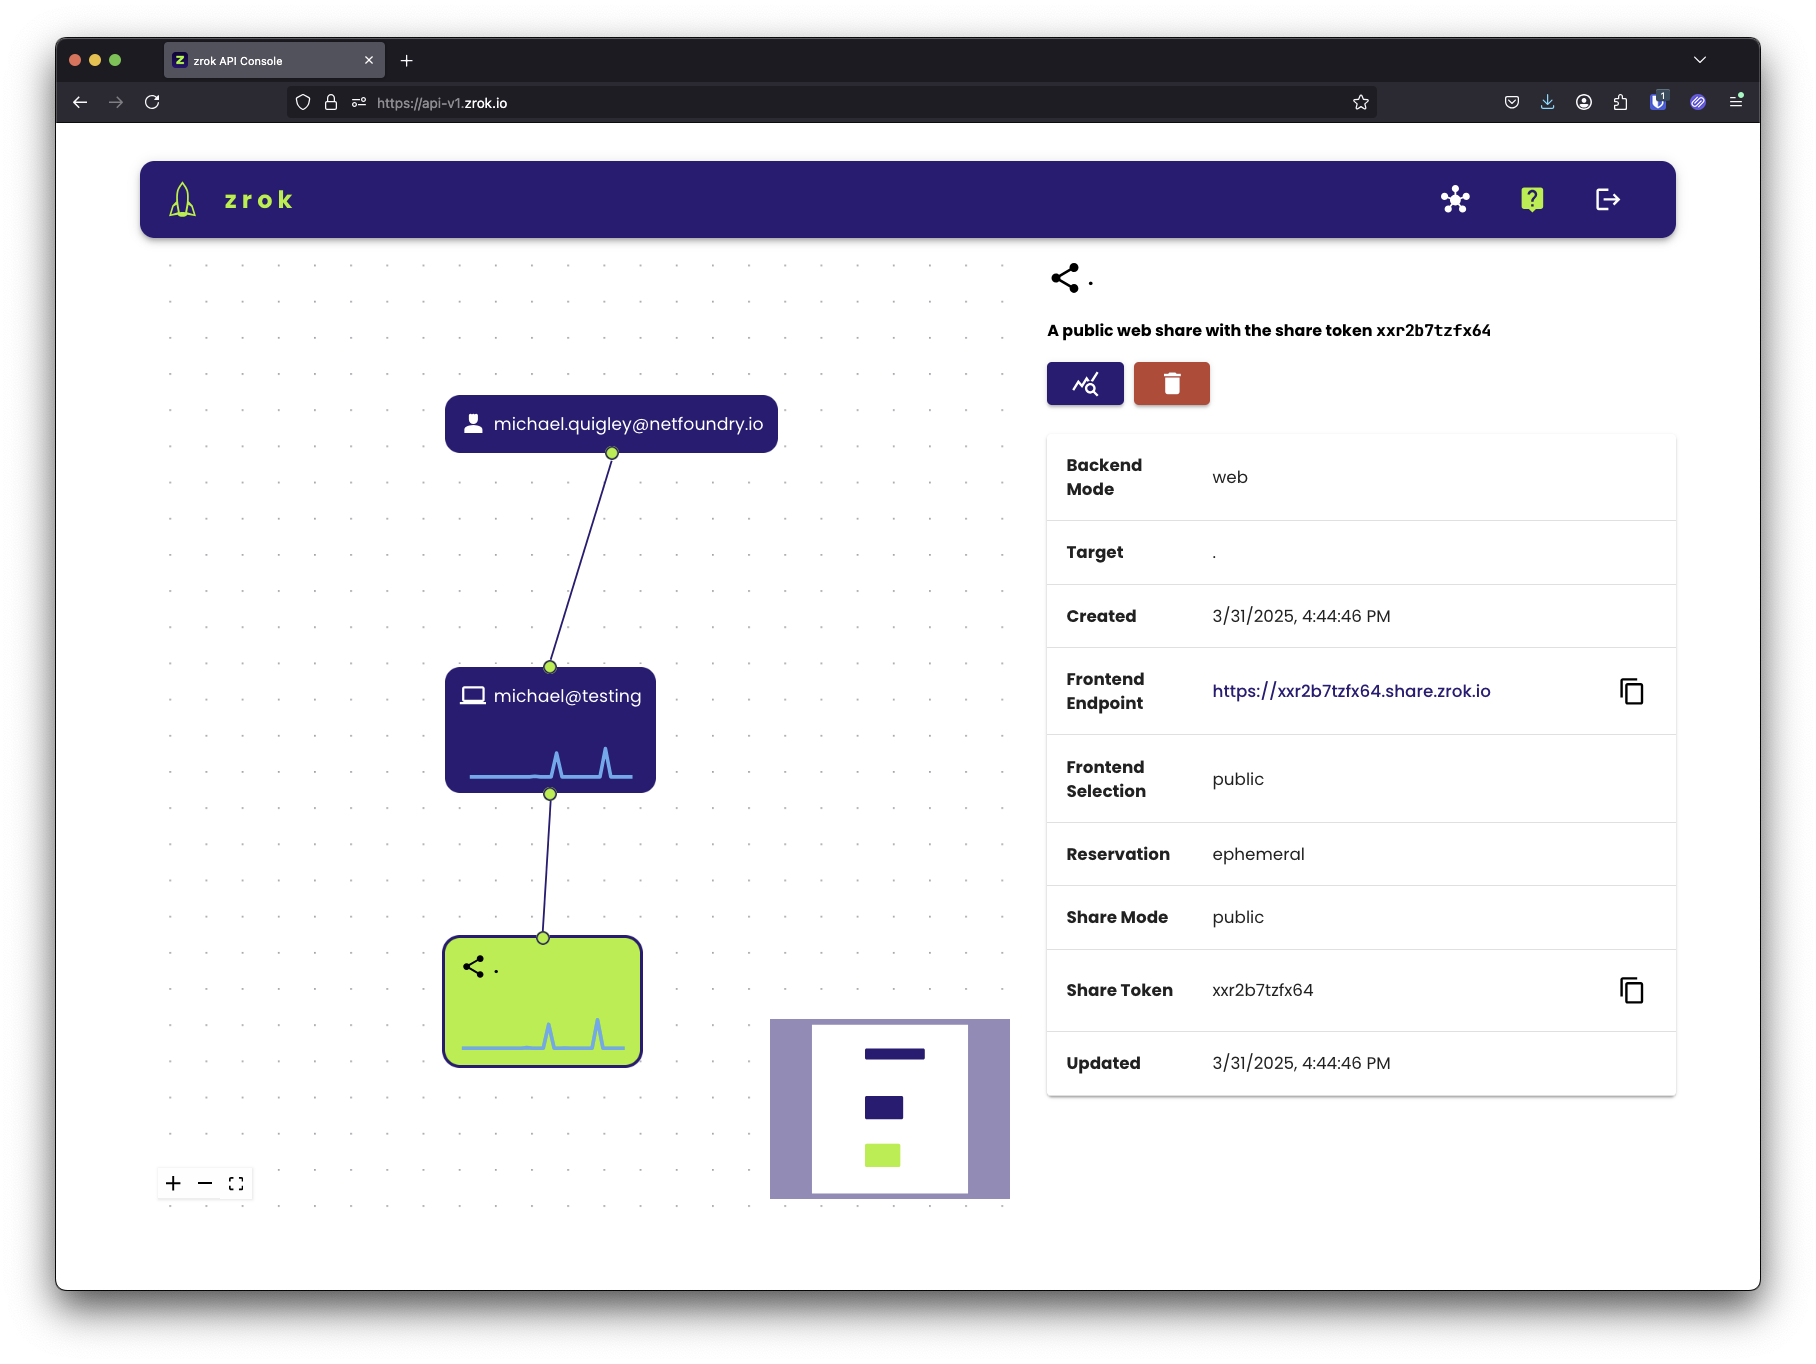
How shares work
zrok2 share public runs in the foreground. The share is active as long as the command is running. If you open the
API console, you'll see the share appear in the visualizer with sparkline graphs showing
live activity as the share is accessed:
Stop the share
Press Ctrl+C or close the terminal. The share is torn down and the URL stops working. This is by design—zrok
shares are ephemeral by default.
This is a good way to understand how zrok works, but it's not the right approach for services you need to keep running. That's what the agent is for.